This evening I executed my second oil painting.

I’m largely happy with it, though next time I do a shape with contact paper I will get some that is a bit stronger as a few little gaps let out some paint and I had to take it off the canvas as best I could with paint thinner. And once I’m at the stage where I think I’m getting good enough to give anything away, I’ll have to get some professional grade canvases because, as you can see, this one was not stretched tight enough.
For this painting I followed one of Bob Ross’s videos, one I got on DVD for my birthday. It started with contact paper and black gesso (which is an acrylic paint and allowed to dry completely.
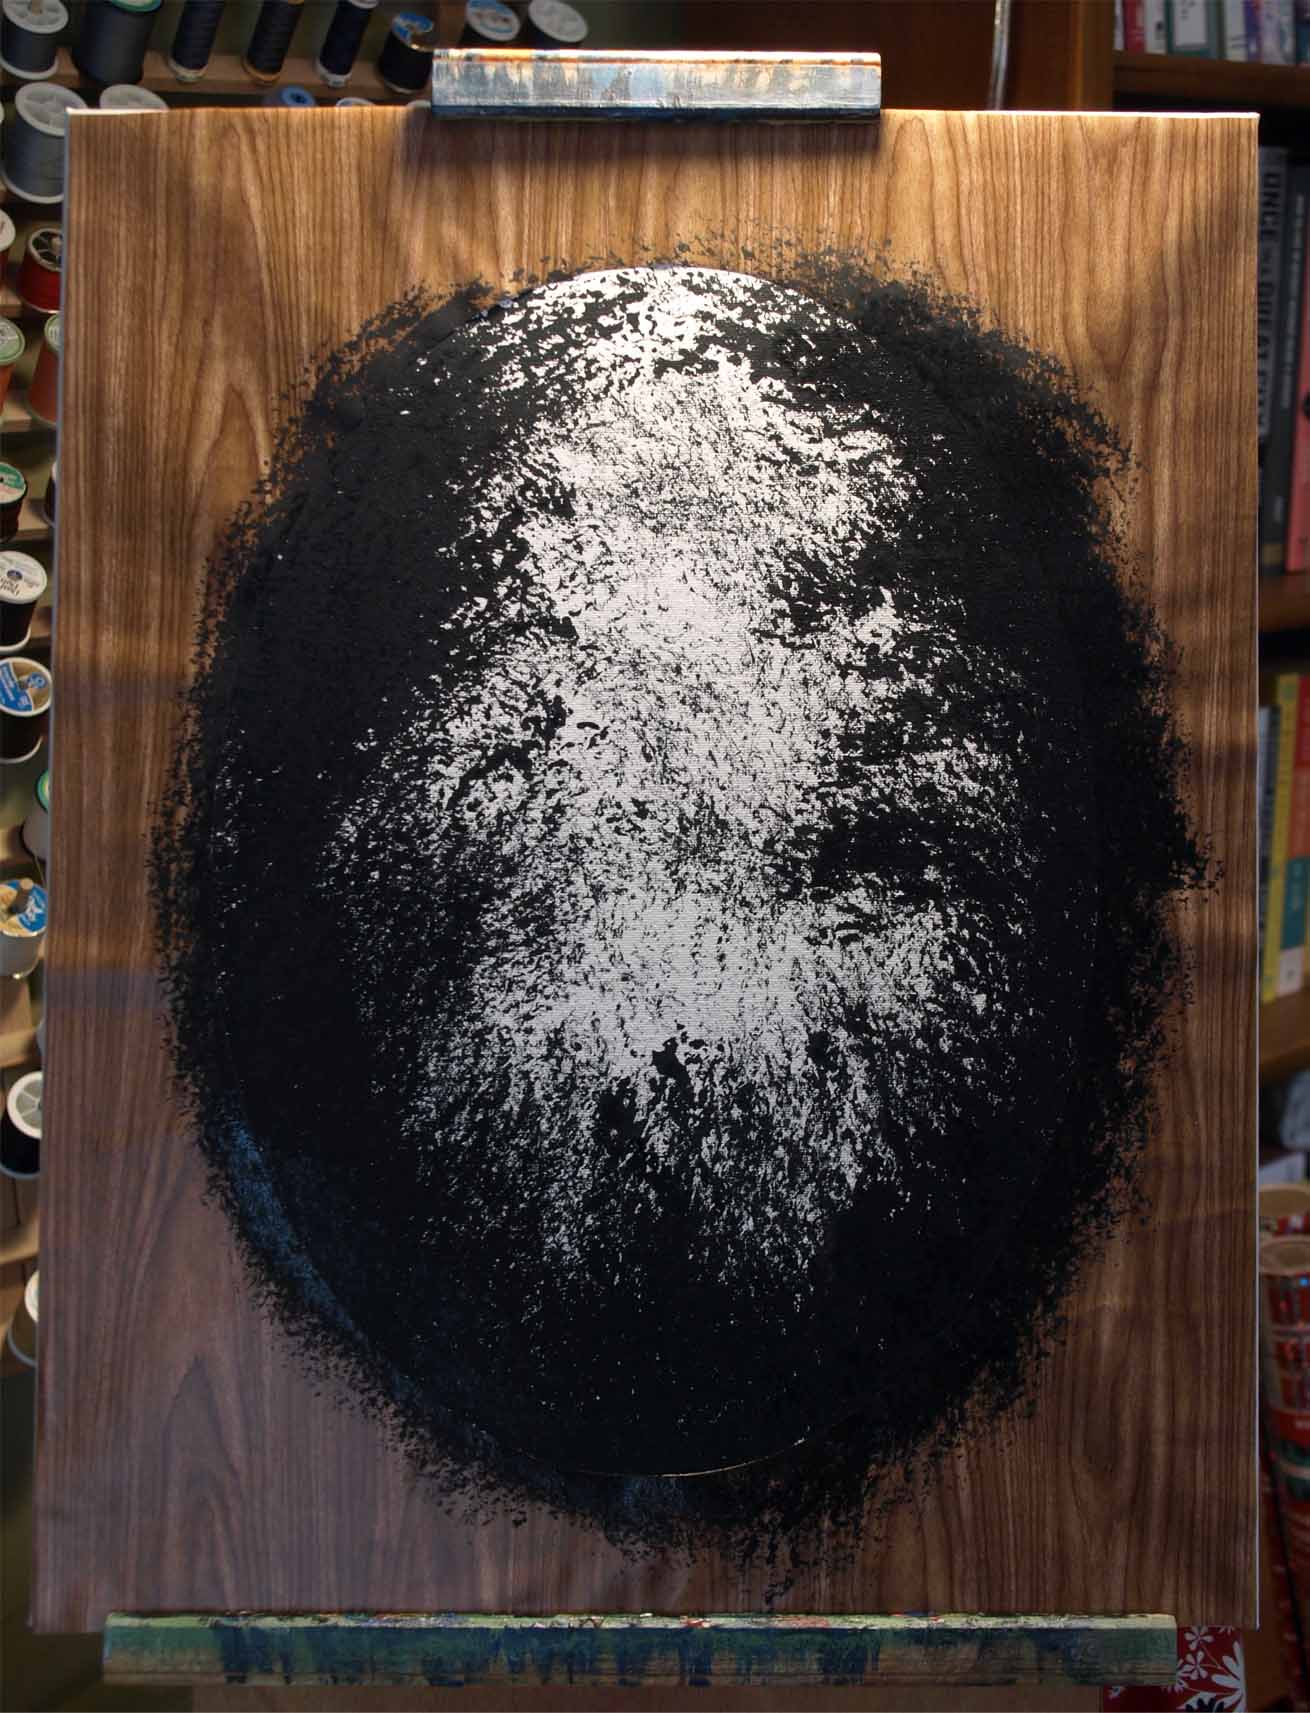
Next you cover the whole canvas with a very thin coat of liquid clear, followed up by a thin coat of a brown color created from equal parts alizarin crimson and sap green.

And after this point I totally forgot to stop between each stage to take pictures! But you start from what is in the very background in your mind and work forward, each layer of tree shapes getting darker and darker as they get closer to you. Add the waterfall, a cliff face, and water at the bottom, plus some highlights and water lines and you’re nearly done.

Then you get to take that ugly contact paper off.
I definitely made some mistakes in this one, and it’s harder than it looks when Bob does it to make tree trunks and branches that look decent (more practice with the liner brush is needed). But it’s also a lot easier than you think it will be, especially if you already have some experience with a brush.
I hope to do a new painting every Sunday, so you’re likely to see more of these soon. I hope you like seeing them, and seriously, it’s less complicated than you think. If you can make the investment (getting started can be pricey) you can absolutely have some fun painting in oils.

You must be logged in to post a comment.