
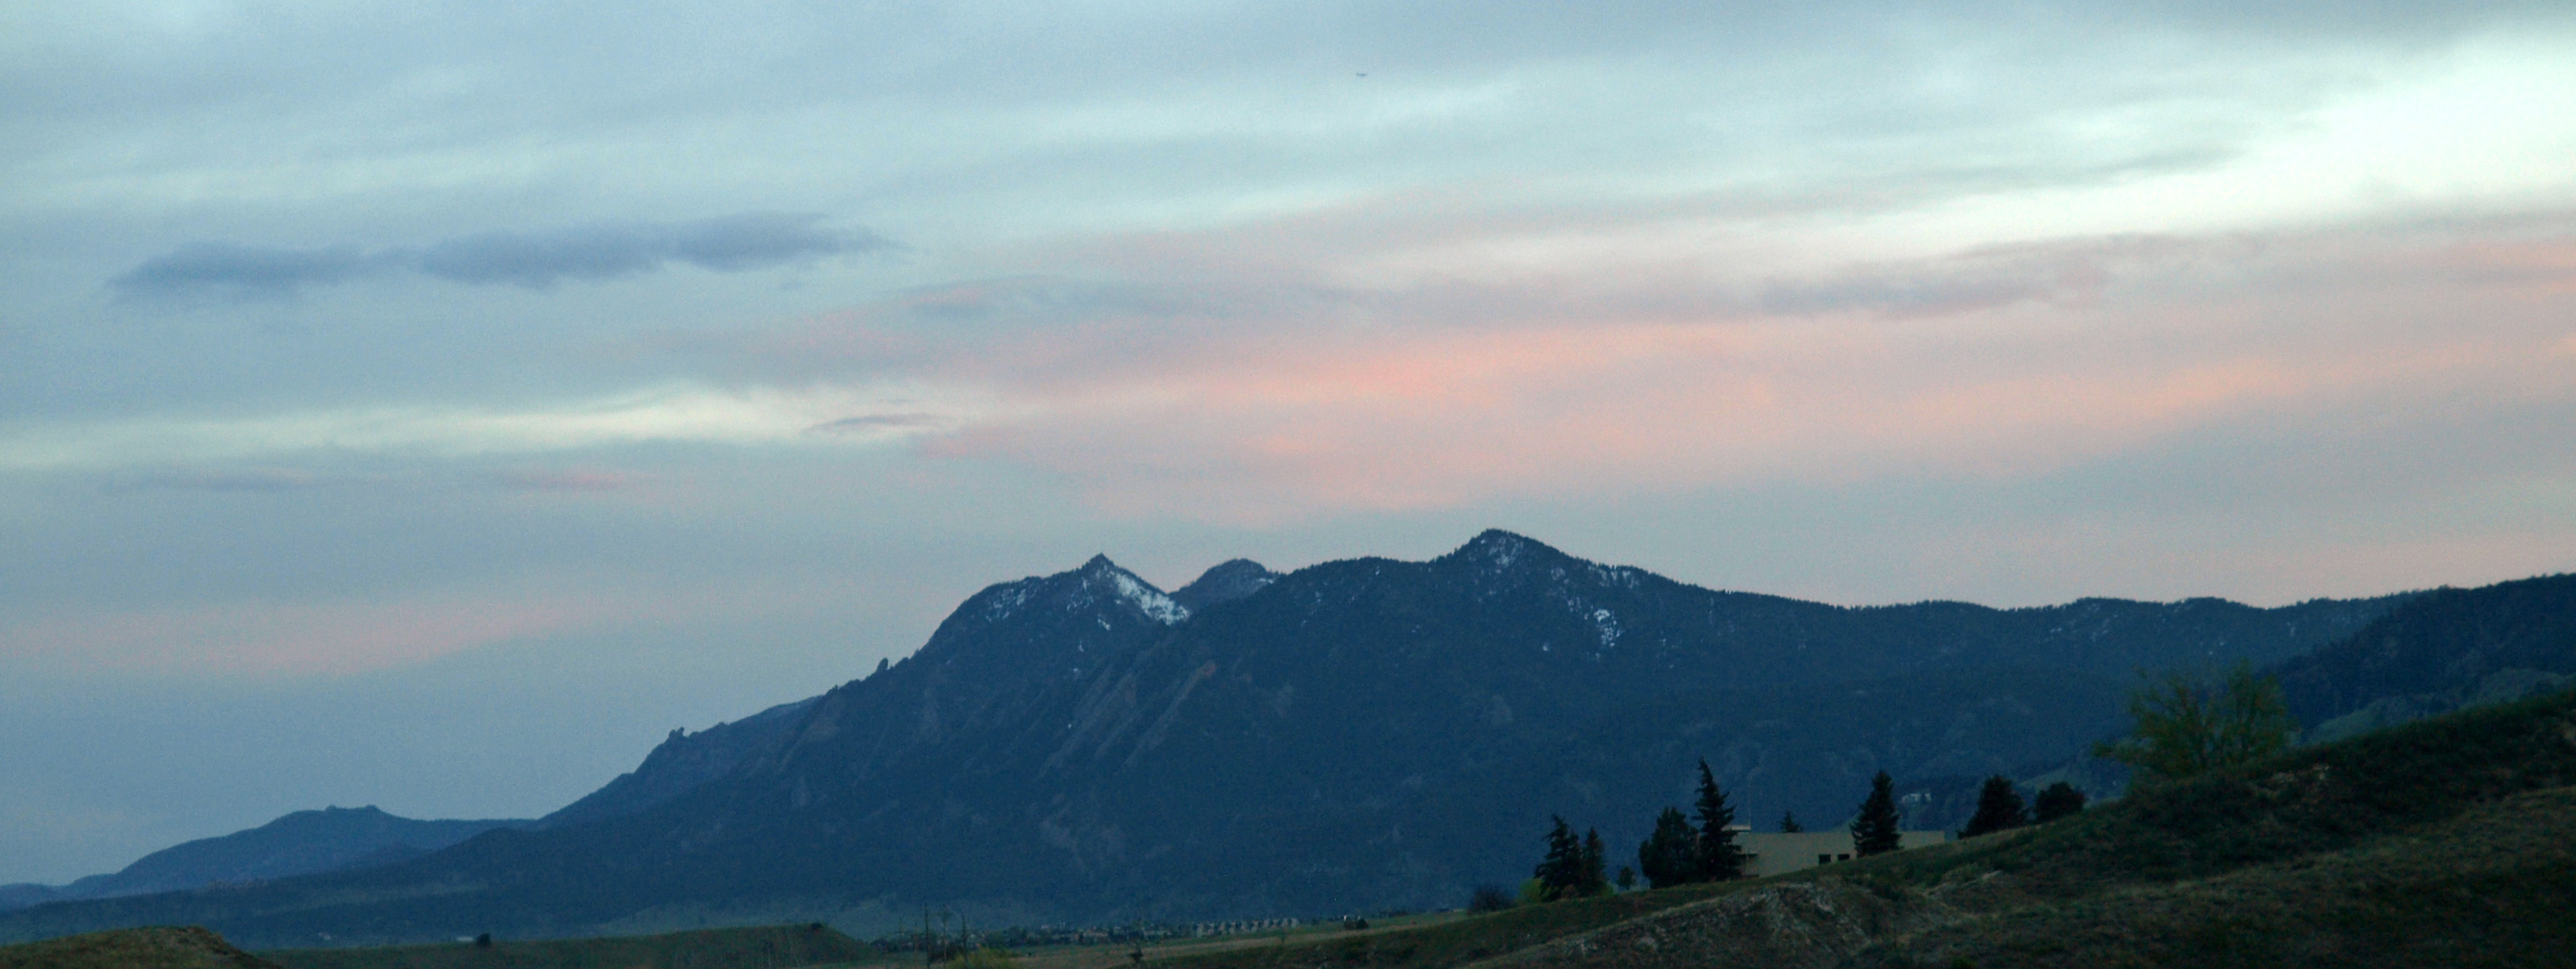
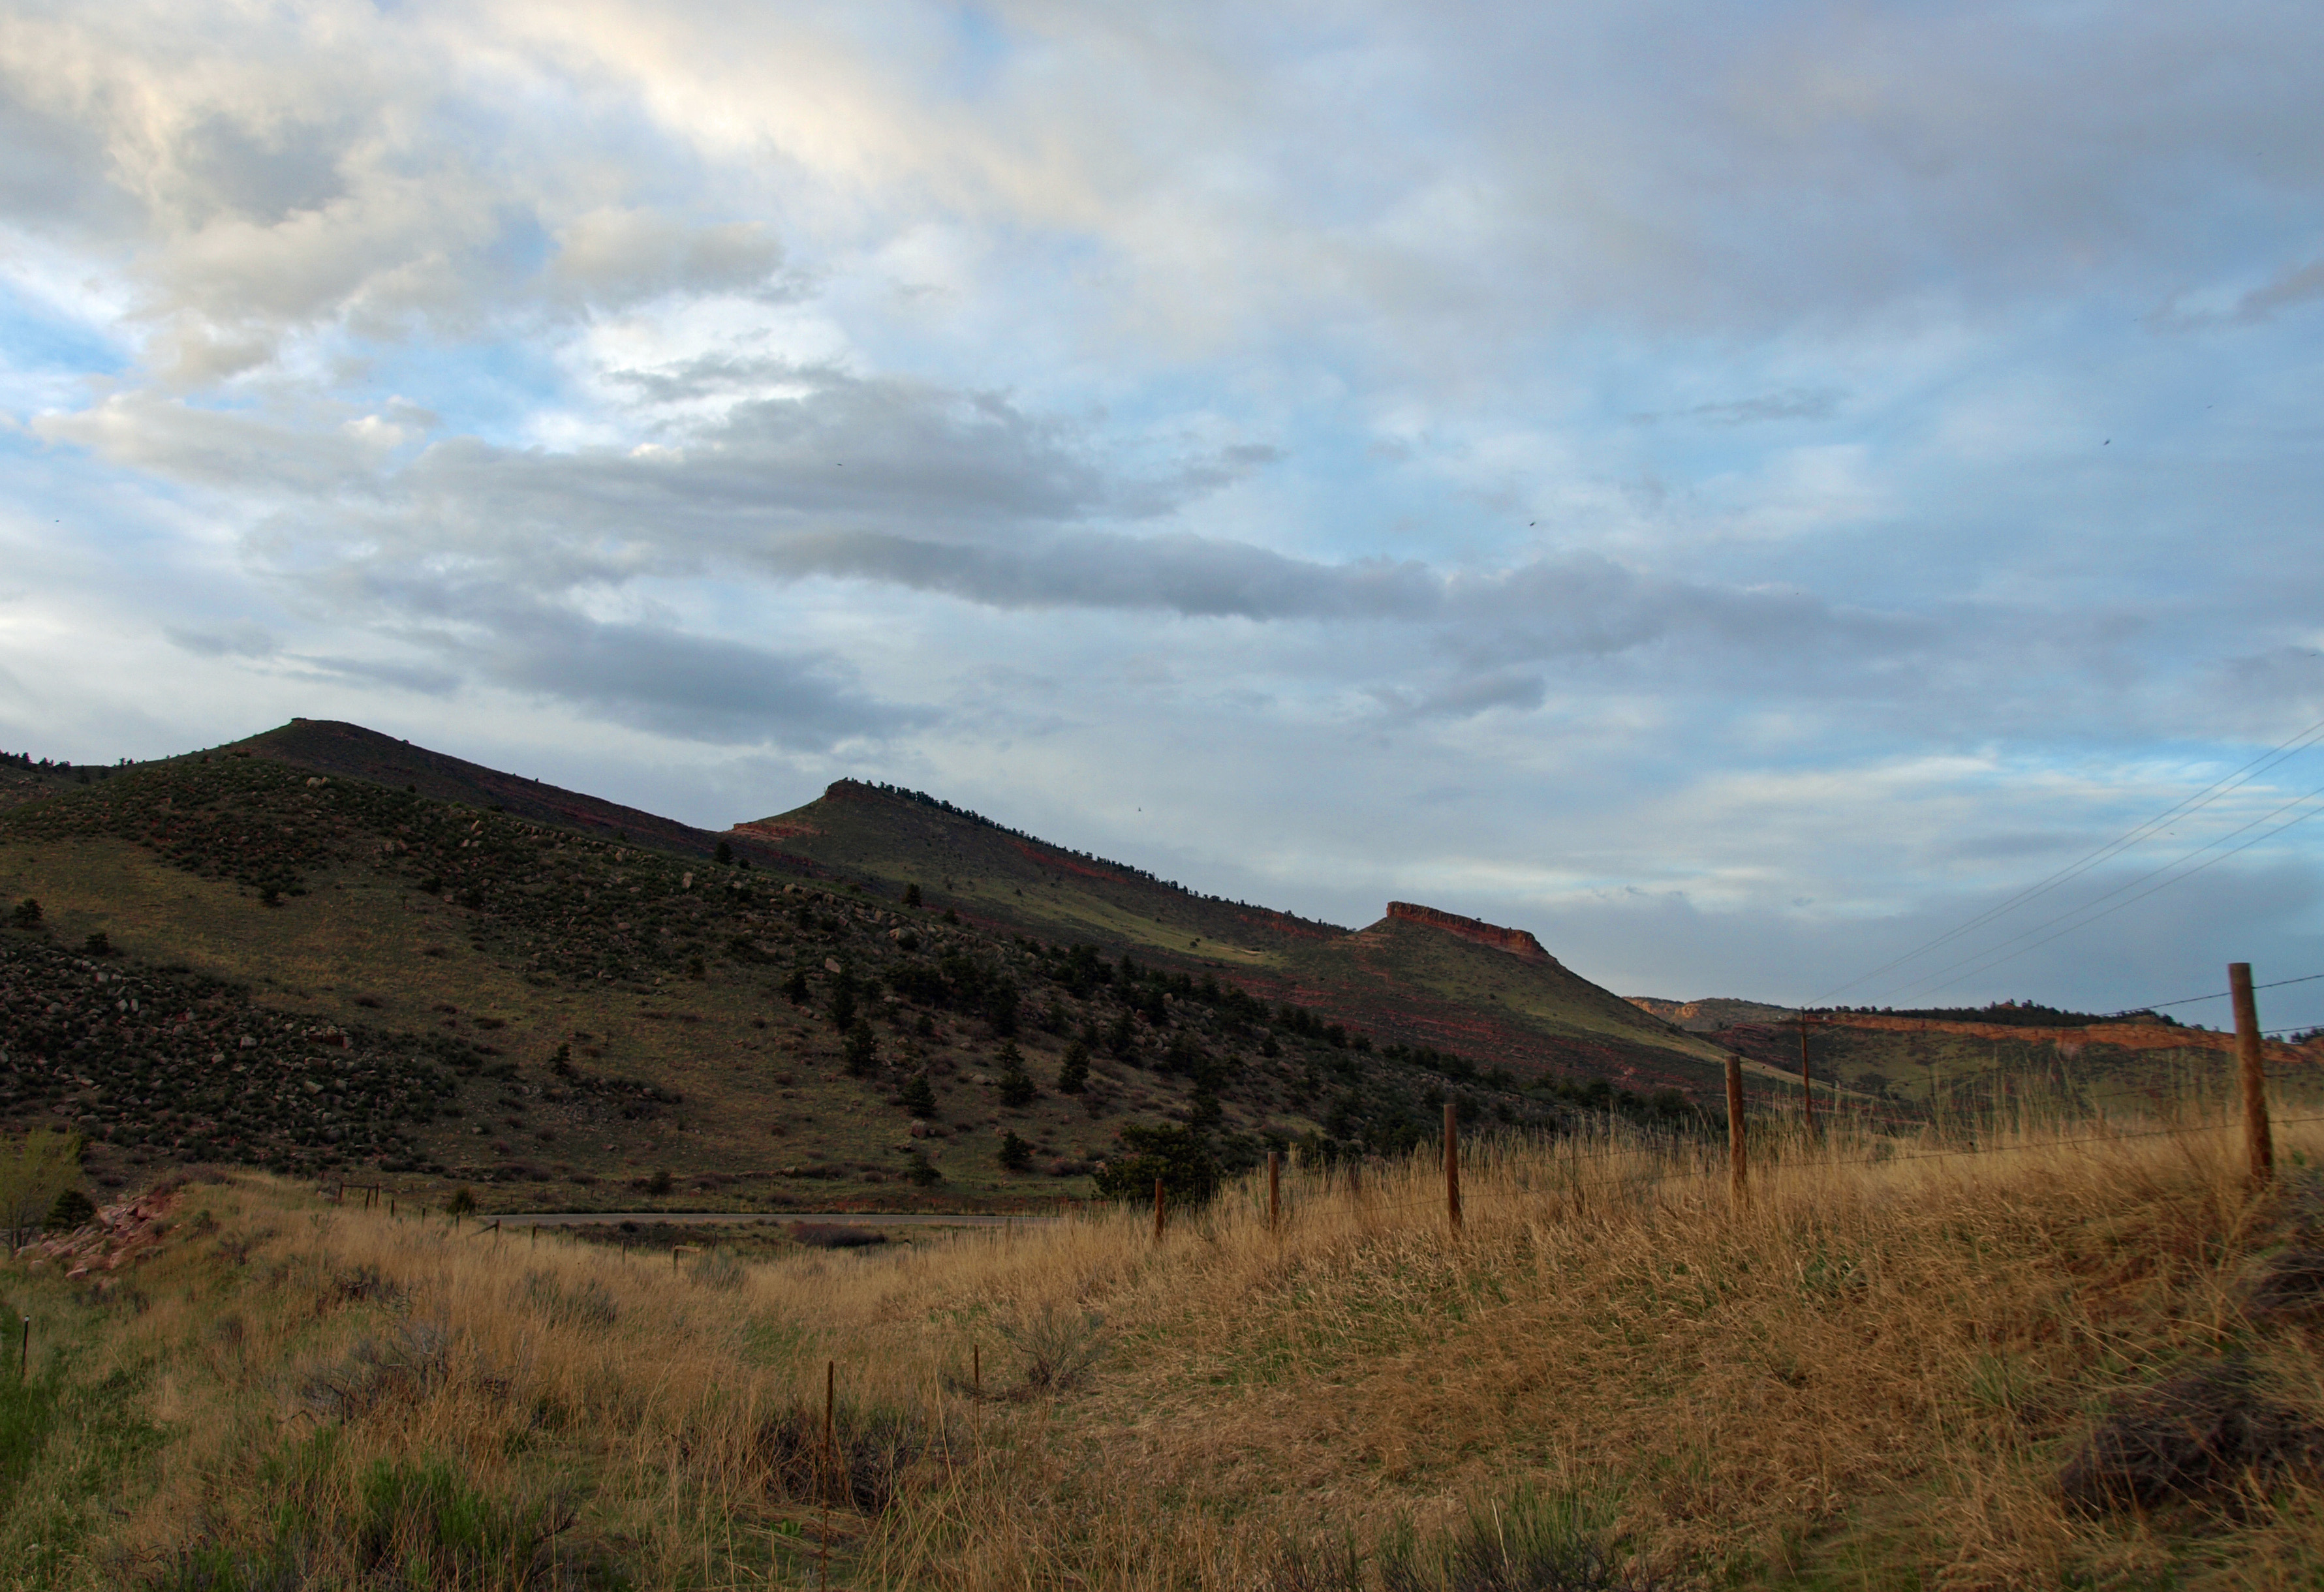
Today I painted snowy mountains. It was a relaxing afternoon after two days of intensive learning, coaching, and teaching at Write on the Red Cedar 2017 (which was awesome, BTW). I did manage this time to remember to take pictures after each major stage, so here’s how this painting came together…

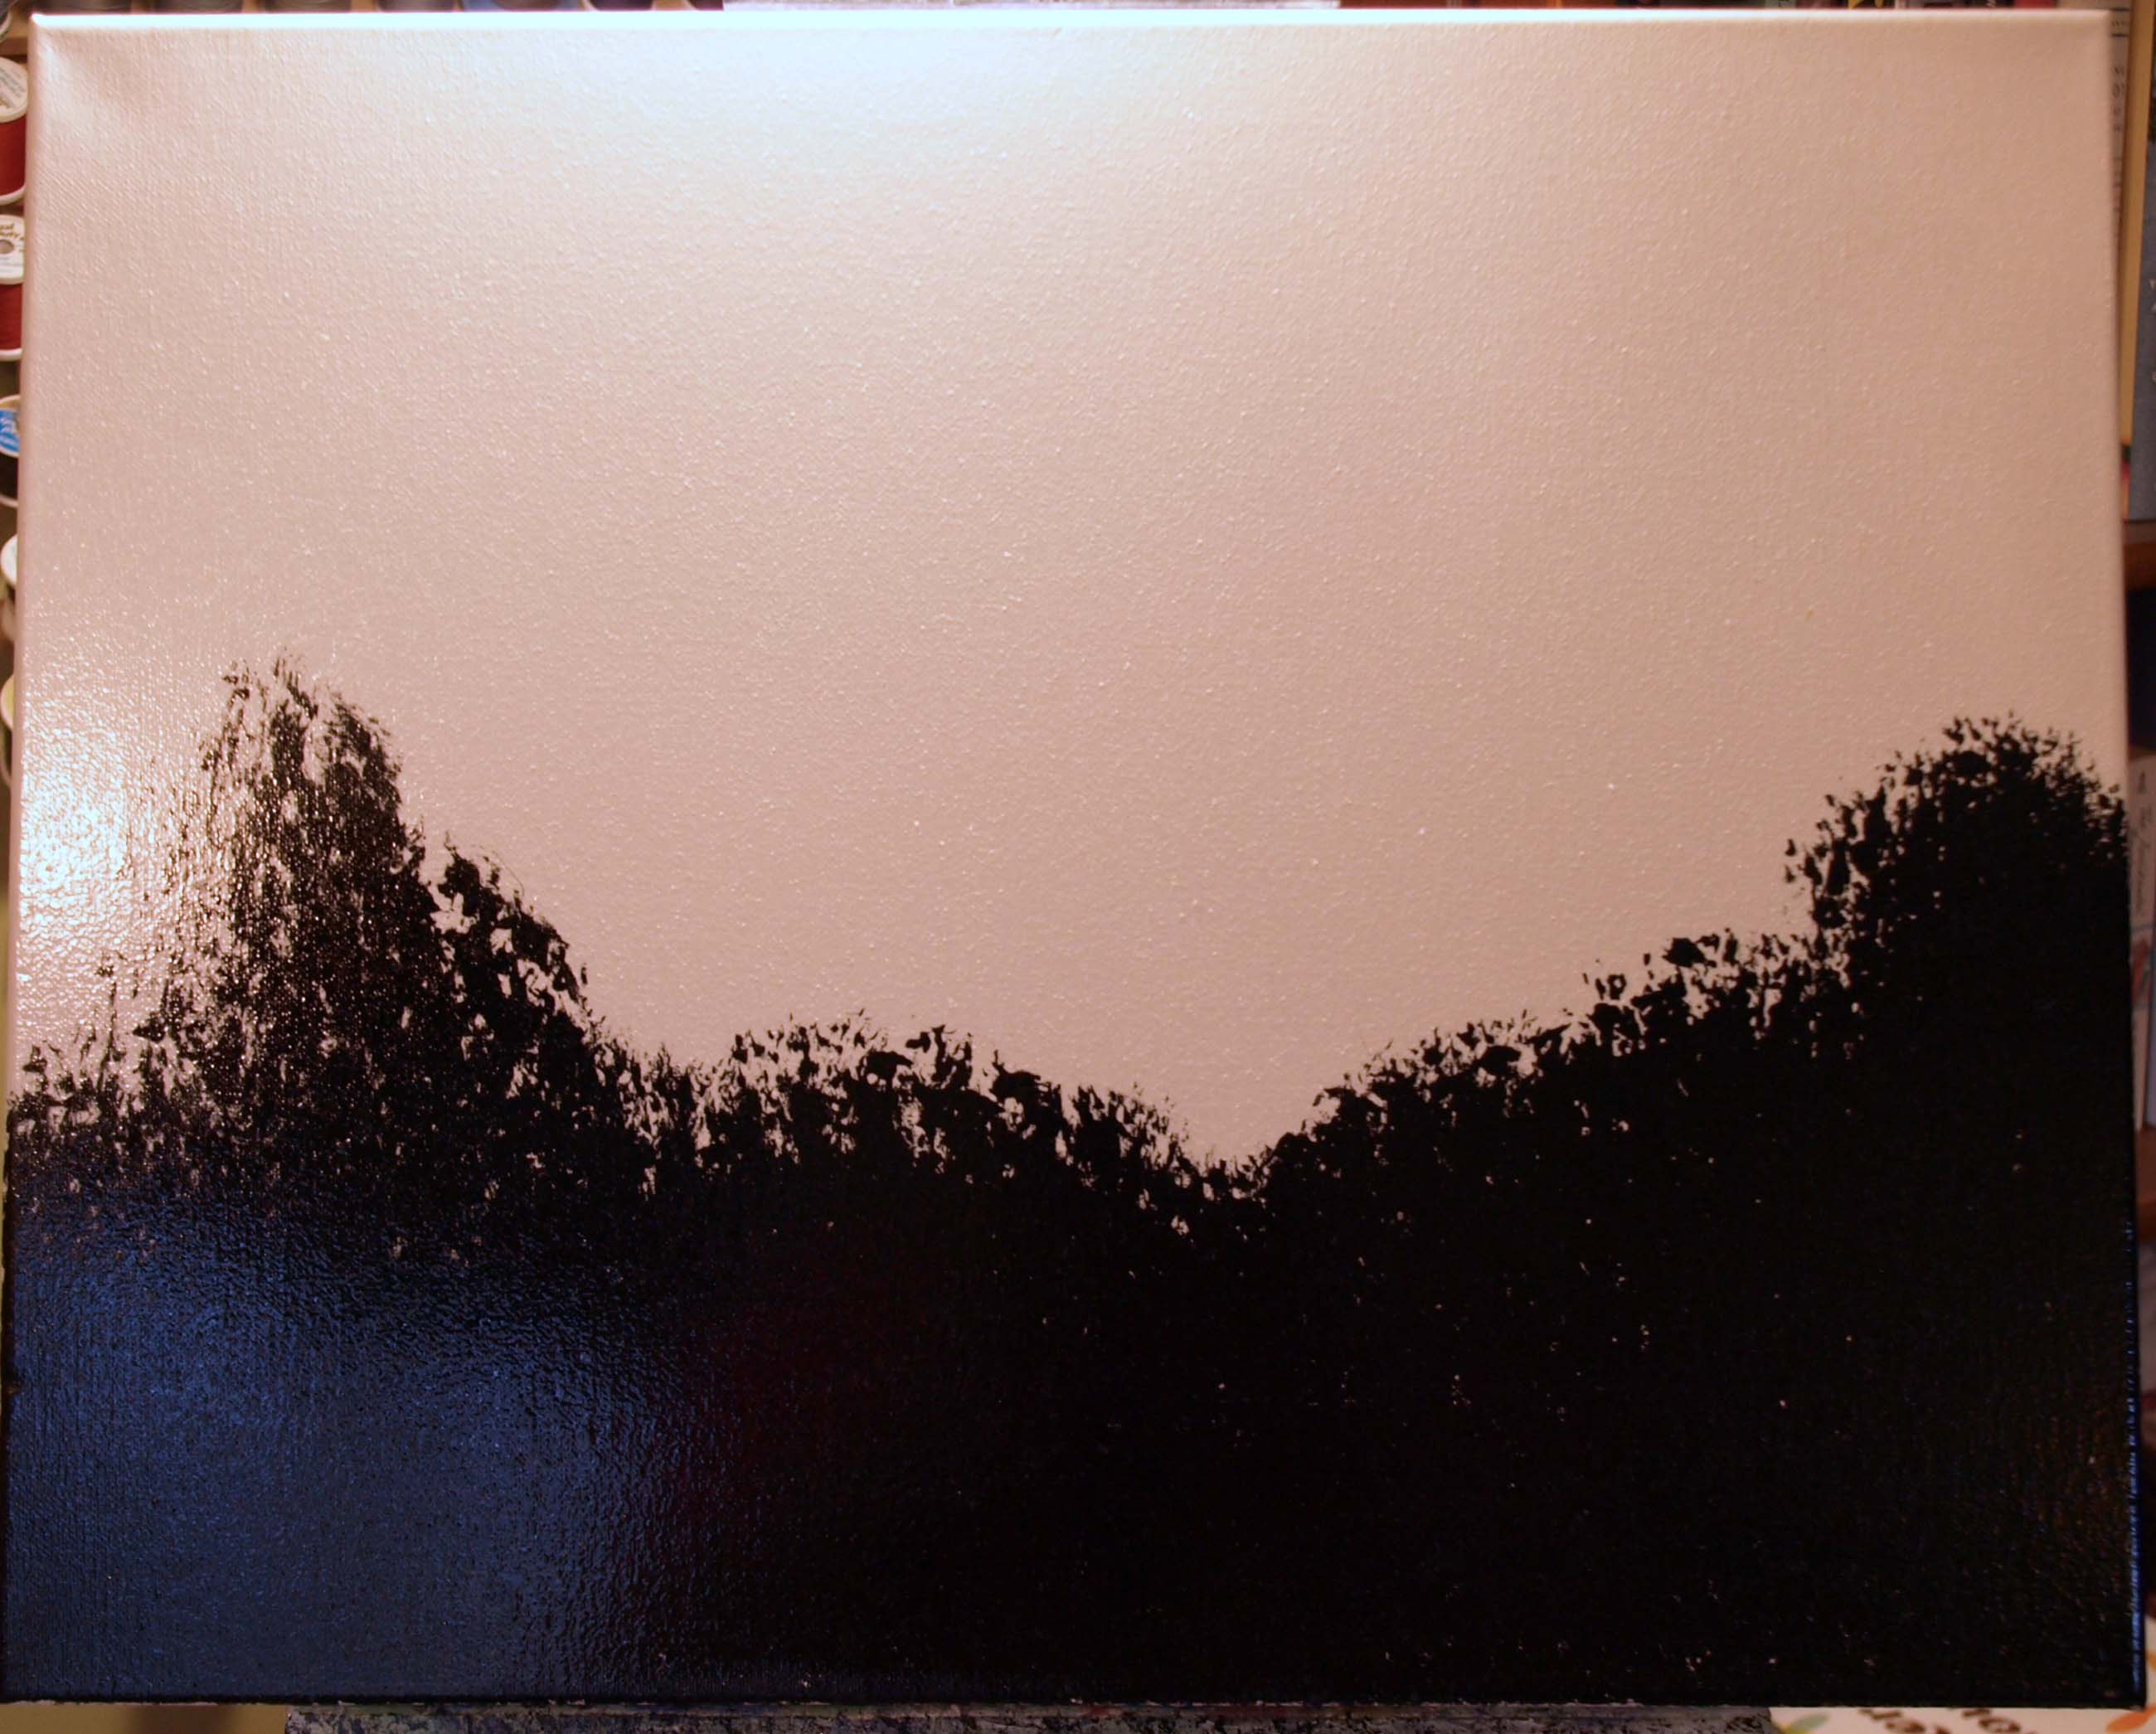
You start with the bottom covered with black gesso (let dry completely) then cover the whole thing with a thin coat of liquid clear. Then you put some black oil paint at the bottom as well.

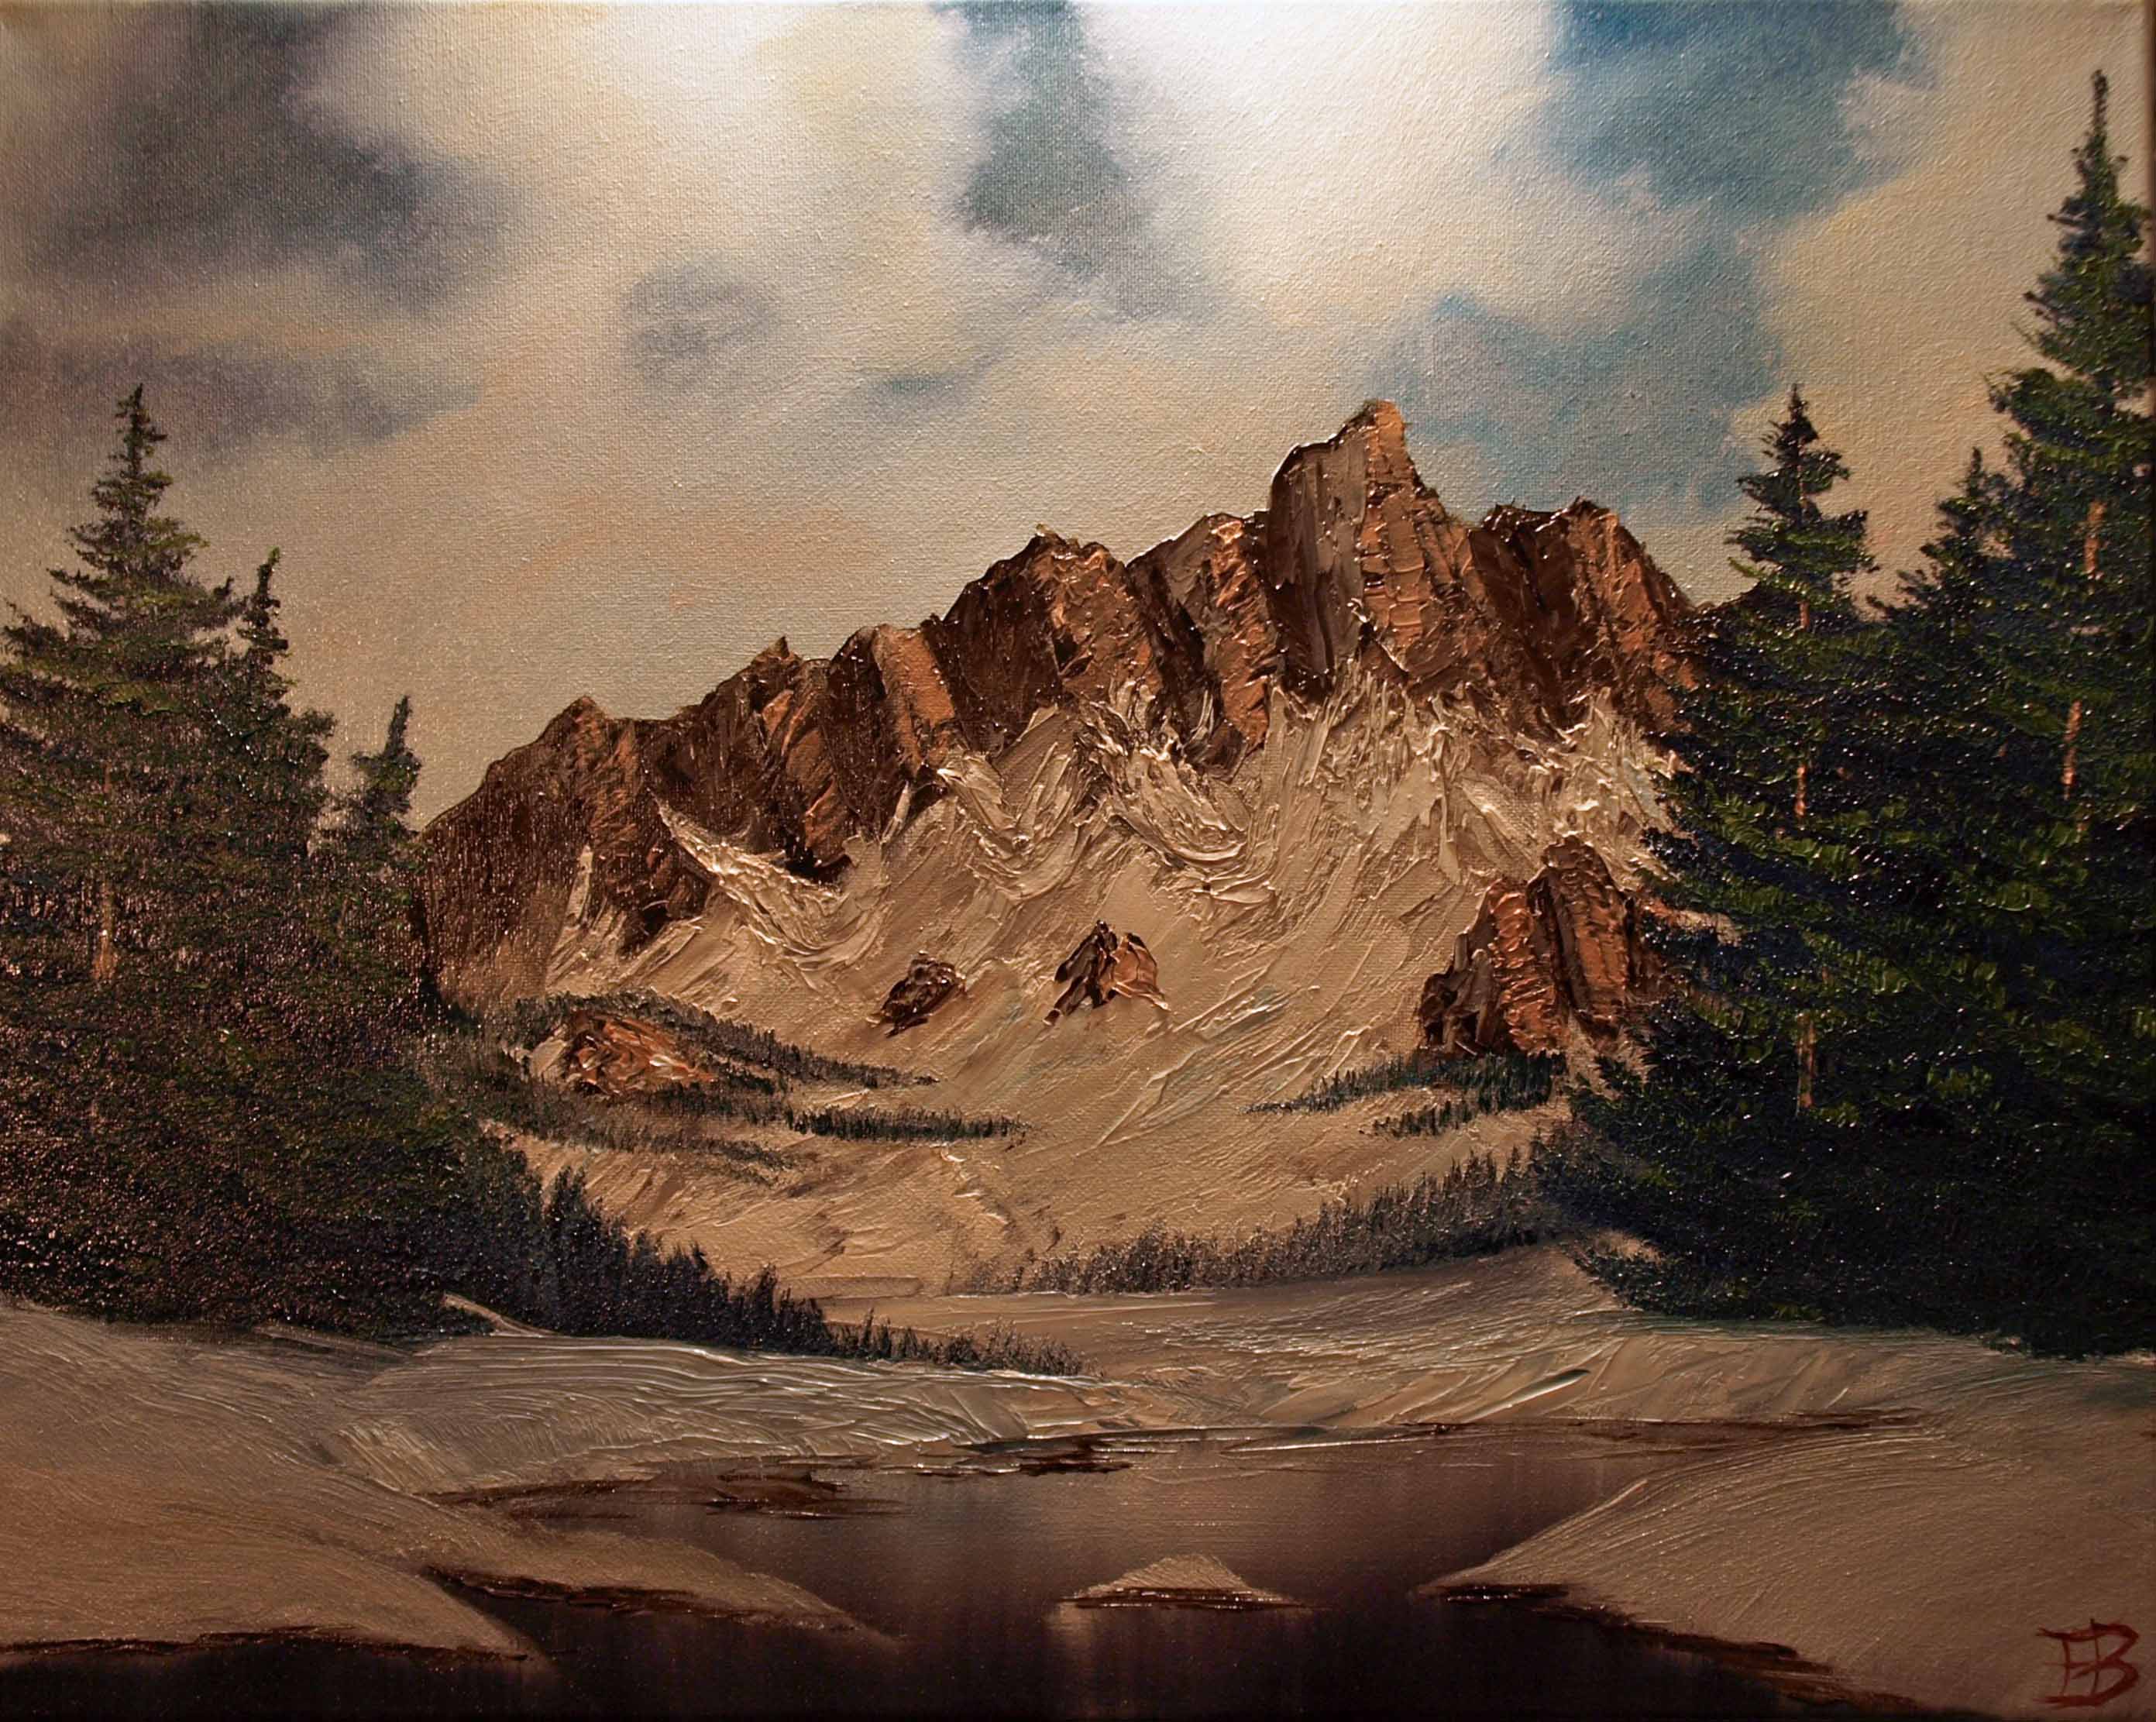
The sky is next: prussian blue, a bit of black, and a bit of alizarin crimson, then fluffy white clouds with tinges of pink and yellow ochre.

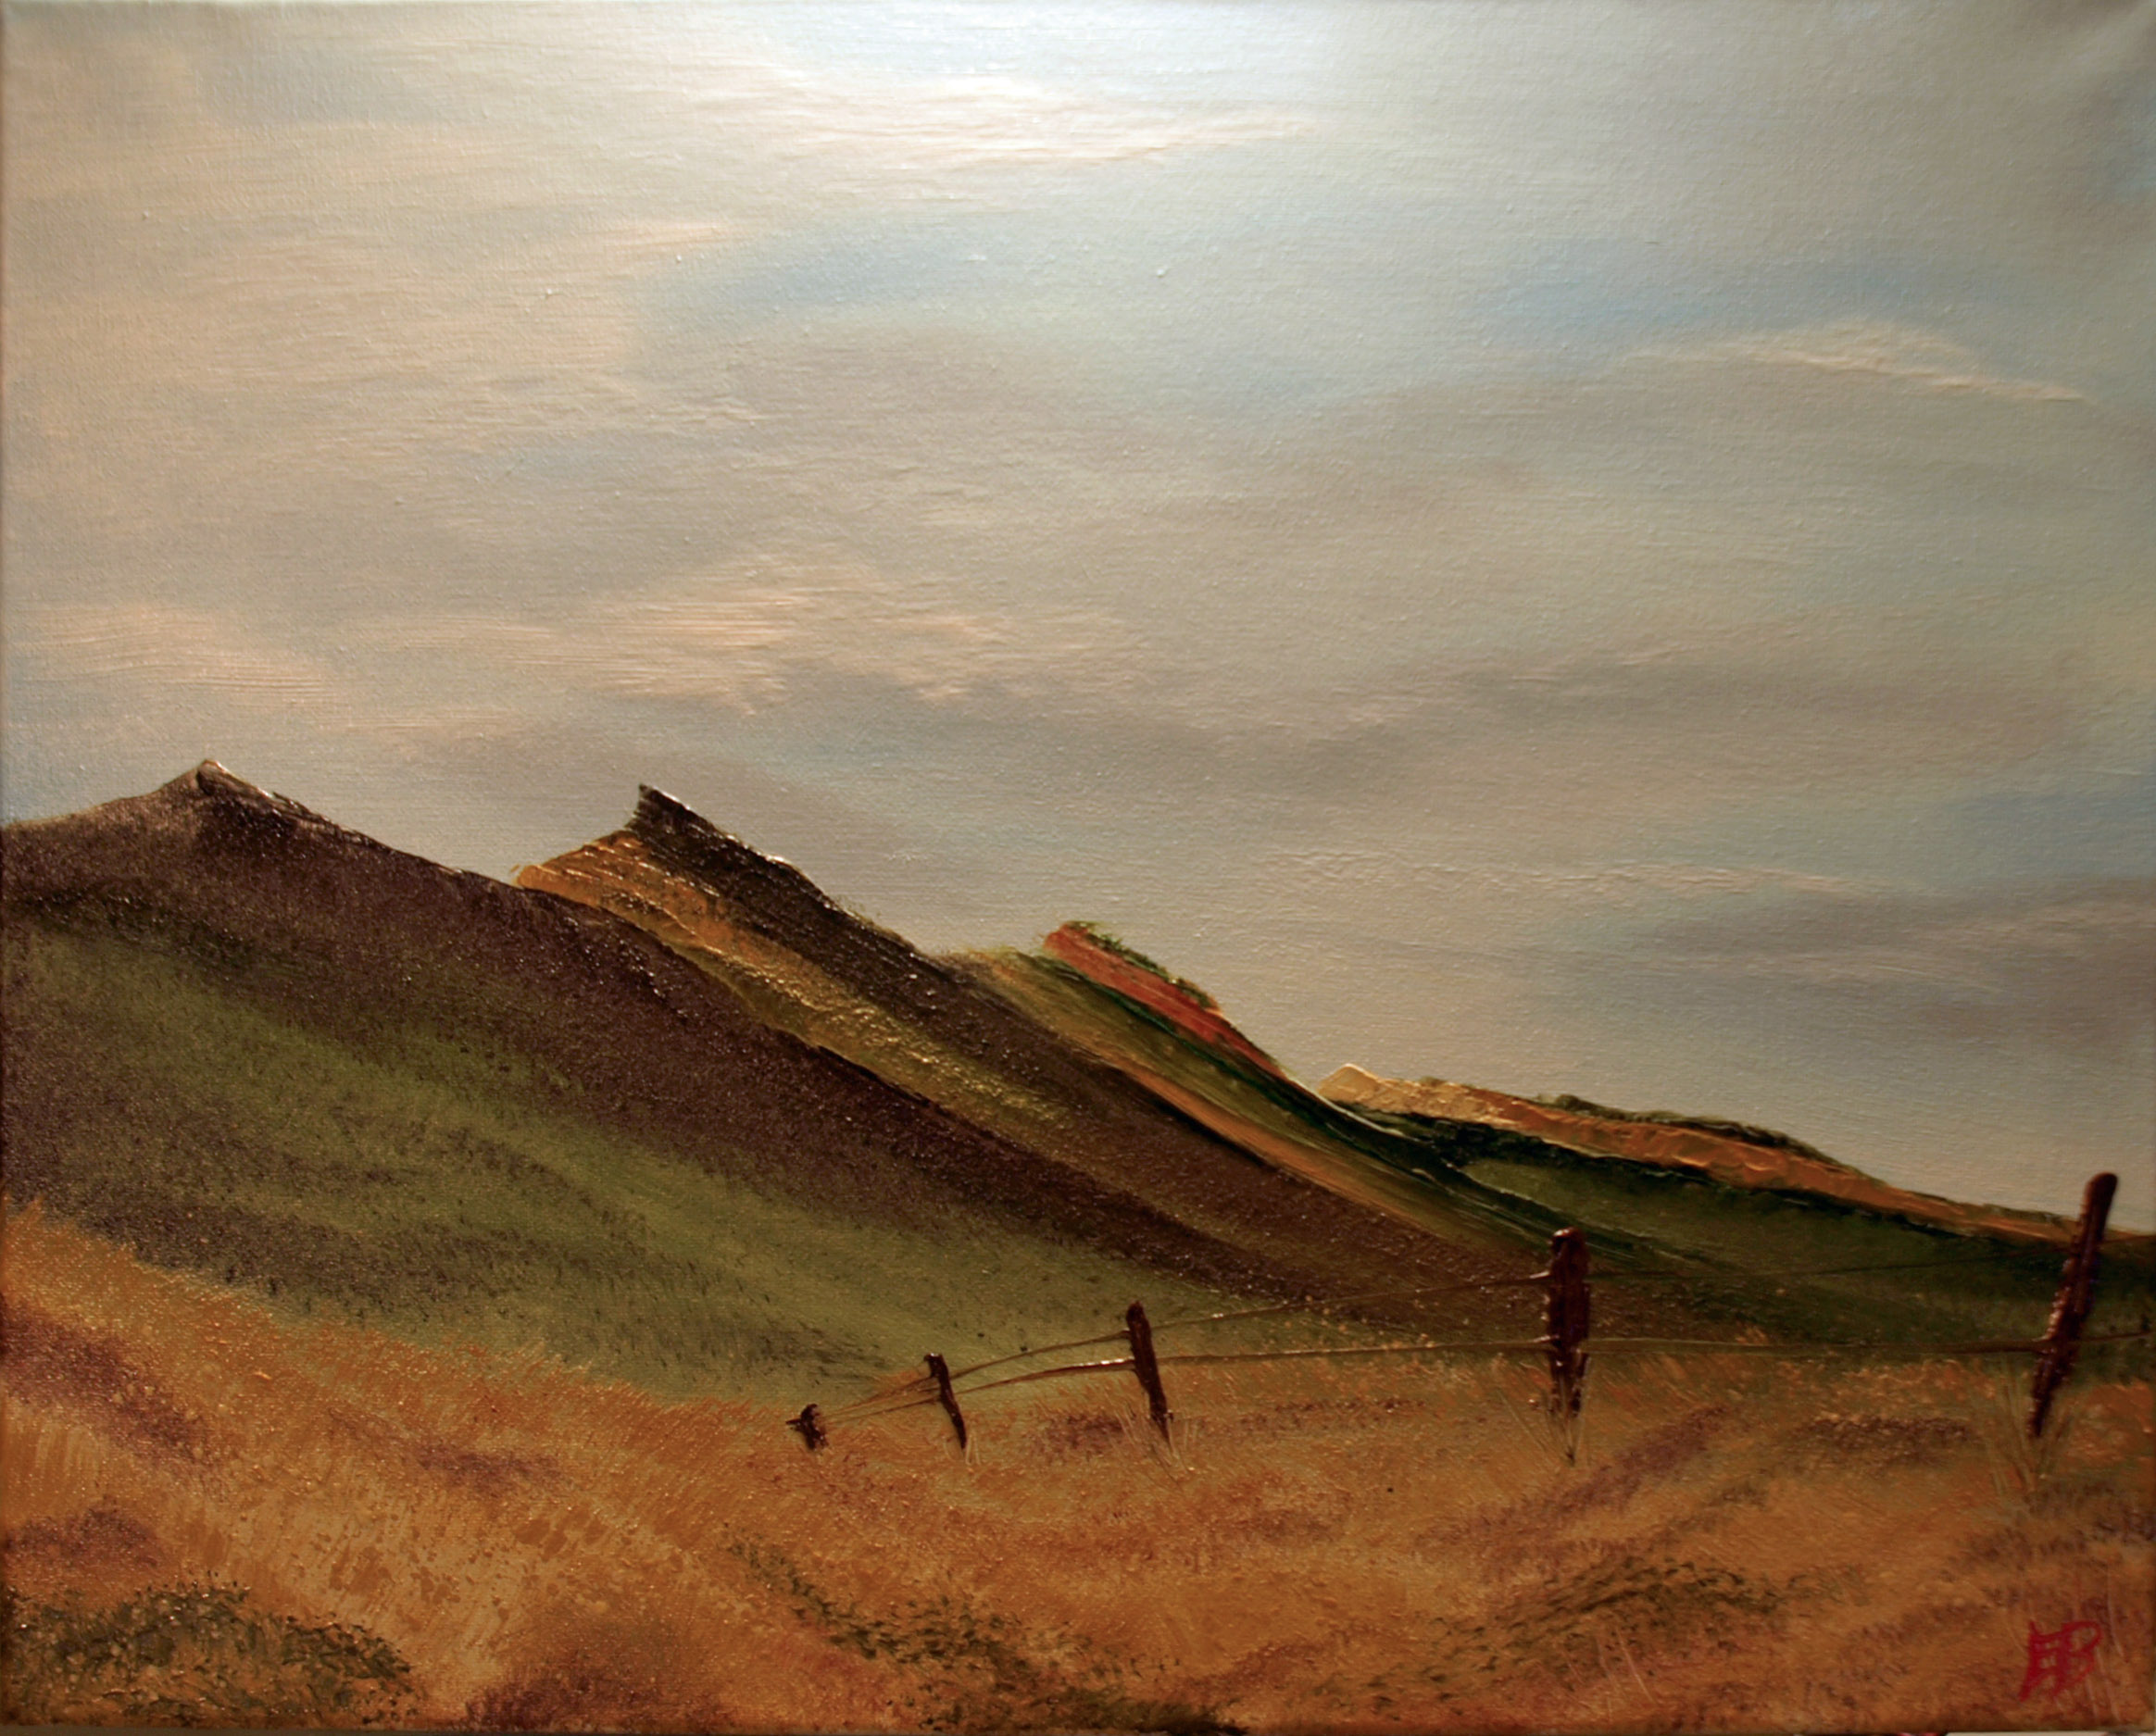
Mountains are next, put in with the knife.

Highlight and shadow colors are mixed and laid on with the knife, and then comes the snow. Keeping the angles making sense took a lot of brainpower for me.

Then I added in a couple closer, shorter protrusions, which push the big mountain back a bit.

Next come distant pine trees and more snow.

Each layer pushes the last one back in your perception, and the fields of snow between help to keep them separated.

Next come Bob Ross’s happy trees. These are a little fuller than I wanted to make them, but I’m still getting the hang of it.

Add in snow beneath the trees, then pull it down with a dry 2-inch brush to make reflections. Voila! Instant water.

I ended up adding some bare trunks to make the trees less full, plus a couple more rock outcroppings because I thought there was just too much white snow all in the middle of the painting.
This one was definitely challenging, but fun!


You must be logged in to post a comment.